A vertical drill press
If there is one thing every engineer needs, it's a drill press. And I may be an engineer, but I did not have one. So I decided to make one. The thought pattern went something like this:
- I have a pile of fairly crude model railway carriages that aren't being used.
- I should reuse their components and make my own carriages.
- I could cast the bodies.
- I need to make a master for the casting.
- I could design it on the computer and get it laser cut? No, that would take too long (1 month waiting period on laser cutting!)
- I could cut them out by hand? Mmmm I could, but it would be hard to get them perfect .
- If I had my own laser cutter I could cut them myself. Hmm… no, laser cutters are too expensive, and too dangerous.
- What if I had a machine that could cut them, but not using a laser? Michael does some googling … hmm, that machine would be called a CNC router. Does some more googling… and they can be very accurate and cut almost as fine as a laser cutter, but at a fraction of the cost.
- How hard would it be to make one?
- Not very. Does some more research …
- If I had a drill press, I can precisely drill each part, ensuring a good square, true machine.
- I wonder how hard it is to make a drill press? Hmm… not very hard it seems.
So off to Mitre10 I went, where I purchased a pair of ball-bearing drawer runners for the princely sum of $17. These are quite nicely made with very little play. The ball bearings make them silky smooth.
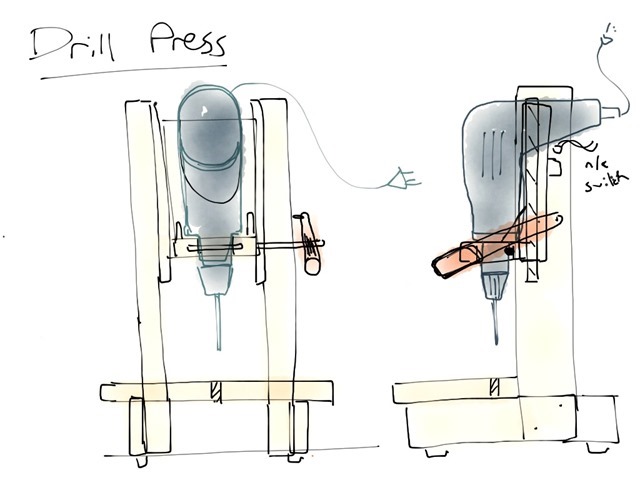
I then spent the evening coming up with a plan:
Then it was time to make it.
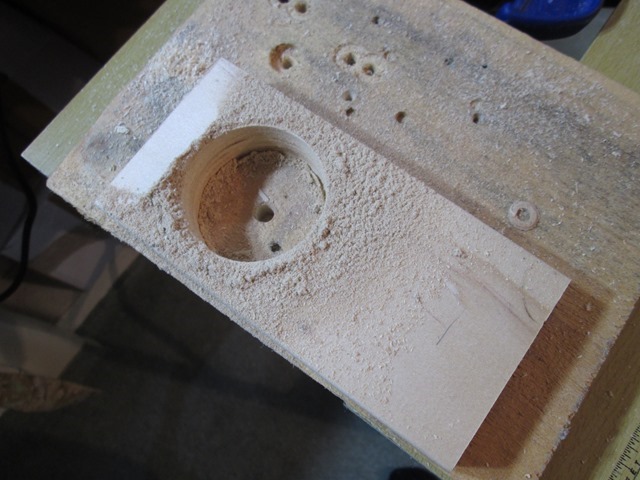
Step one was to cut a hole big enough for my $10 power drill. Luckily I had a hole saw just the right size. I cut a slot at the front and put in a bolt so I could tighten the wole around the drill.
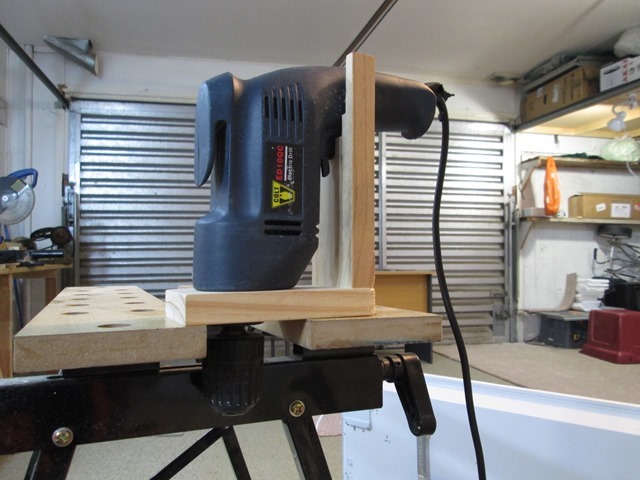
Then I cut a vertical to hold the drill.
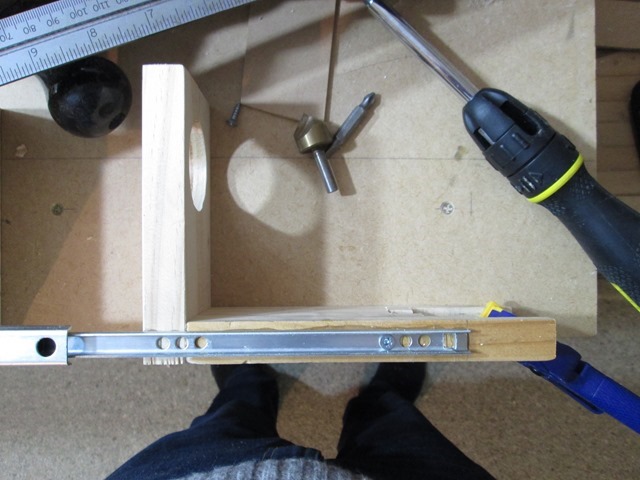
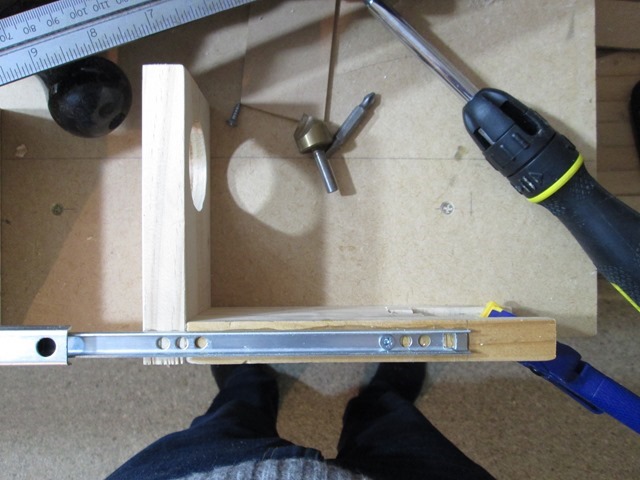
5 minute Araldite to fix the drawer runners, and a couple of screws for extra security.
A helpful offcut of plywood was quickly turned into some verticals, and a base was made up.
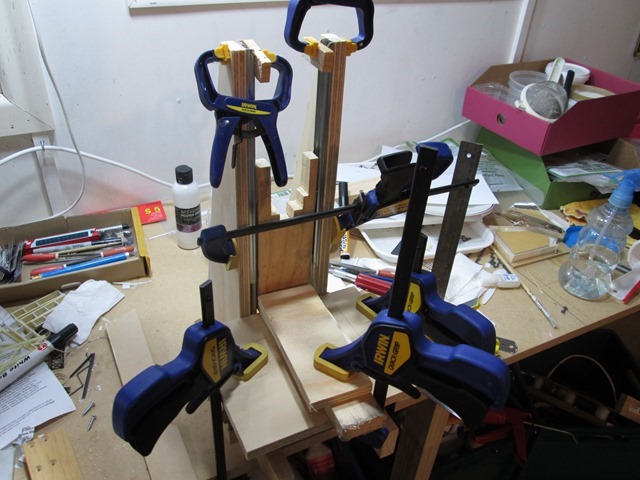
The verticals were then glued in place, taking particular care to make sure the bed was parallel to the base. Without this being correct, the drill would never drill straight. Many, many clamps were used to hold everything in place while the Araldite dried.
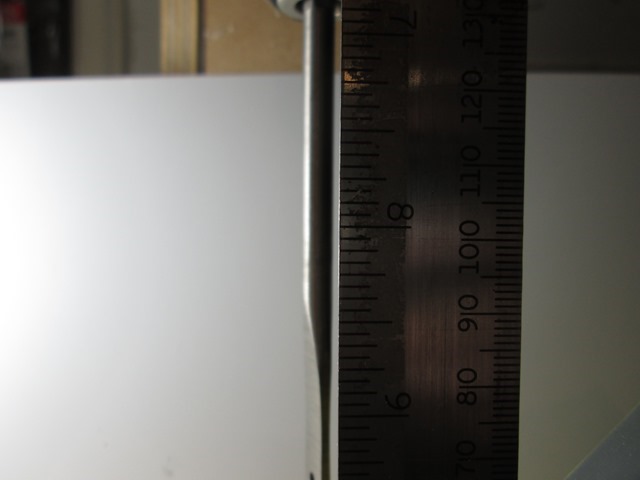
Then I did the most important test: how straight is it? By using a long wood-boring bit I could see if the bit and my square were parallel. They appear to be!
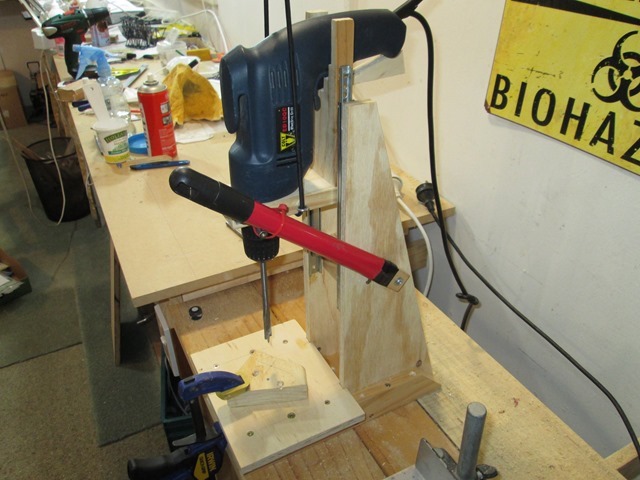
I then added a handle made from an old broom that got eaten by the garage door (!) and some bungee cord was turned into a counter-balance mechanism to offset the weight of the drill.
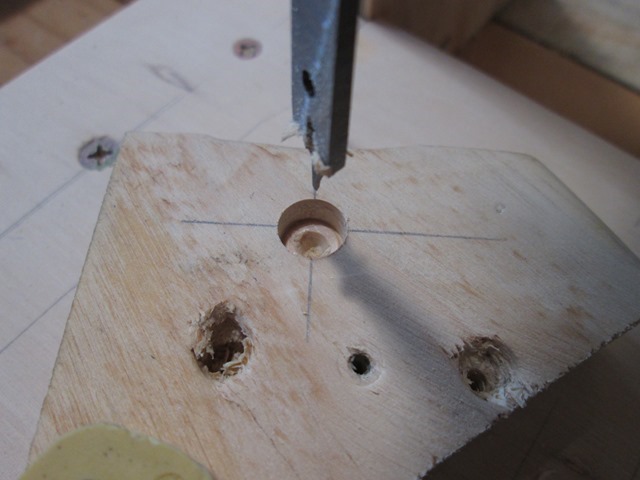
Then it was time to test it! A pilot hole was drilled and then a 10mm spade bit used to make a bigger hole.
Seems alright to me! There is a tiny amount of play in the drill itself, but not much I can do about that, and it's not enough to be a problem; the holes are still good and straight. Should come in very handy when drilling end plates for modules, as I can drill several at a time and know all the holes will line up correctly.
And just for kicks, I made a video: http://youtu.be/uS7WxompZqQ

Comments
Leave a comment?